IntelliJ has a lot of powerful features that help improve our overall development workflow. One feature that I use everyday is Live Templates. This article will discuss how to use Live Templates to speed up your development and stop you getting RSI.
What are Live Templates?
Live Templates are code snippets that can be inserted into a code file using a shortcut ‘key’ which is expanded into the full snippet. These snippets can include placeholders that the IDE will let you tab through customising the snippet with the appropriate details.
Creating a Live Template
It is really simple to create a Live Template, we will run through an example that helps us create a Sencha class quickly.
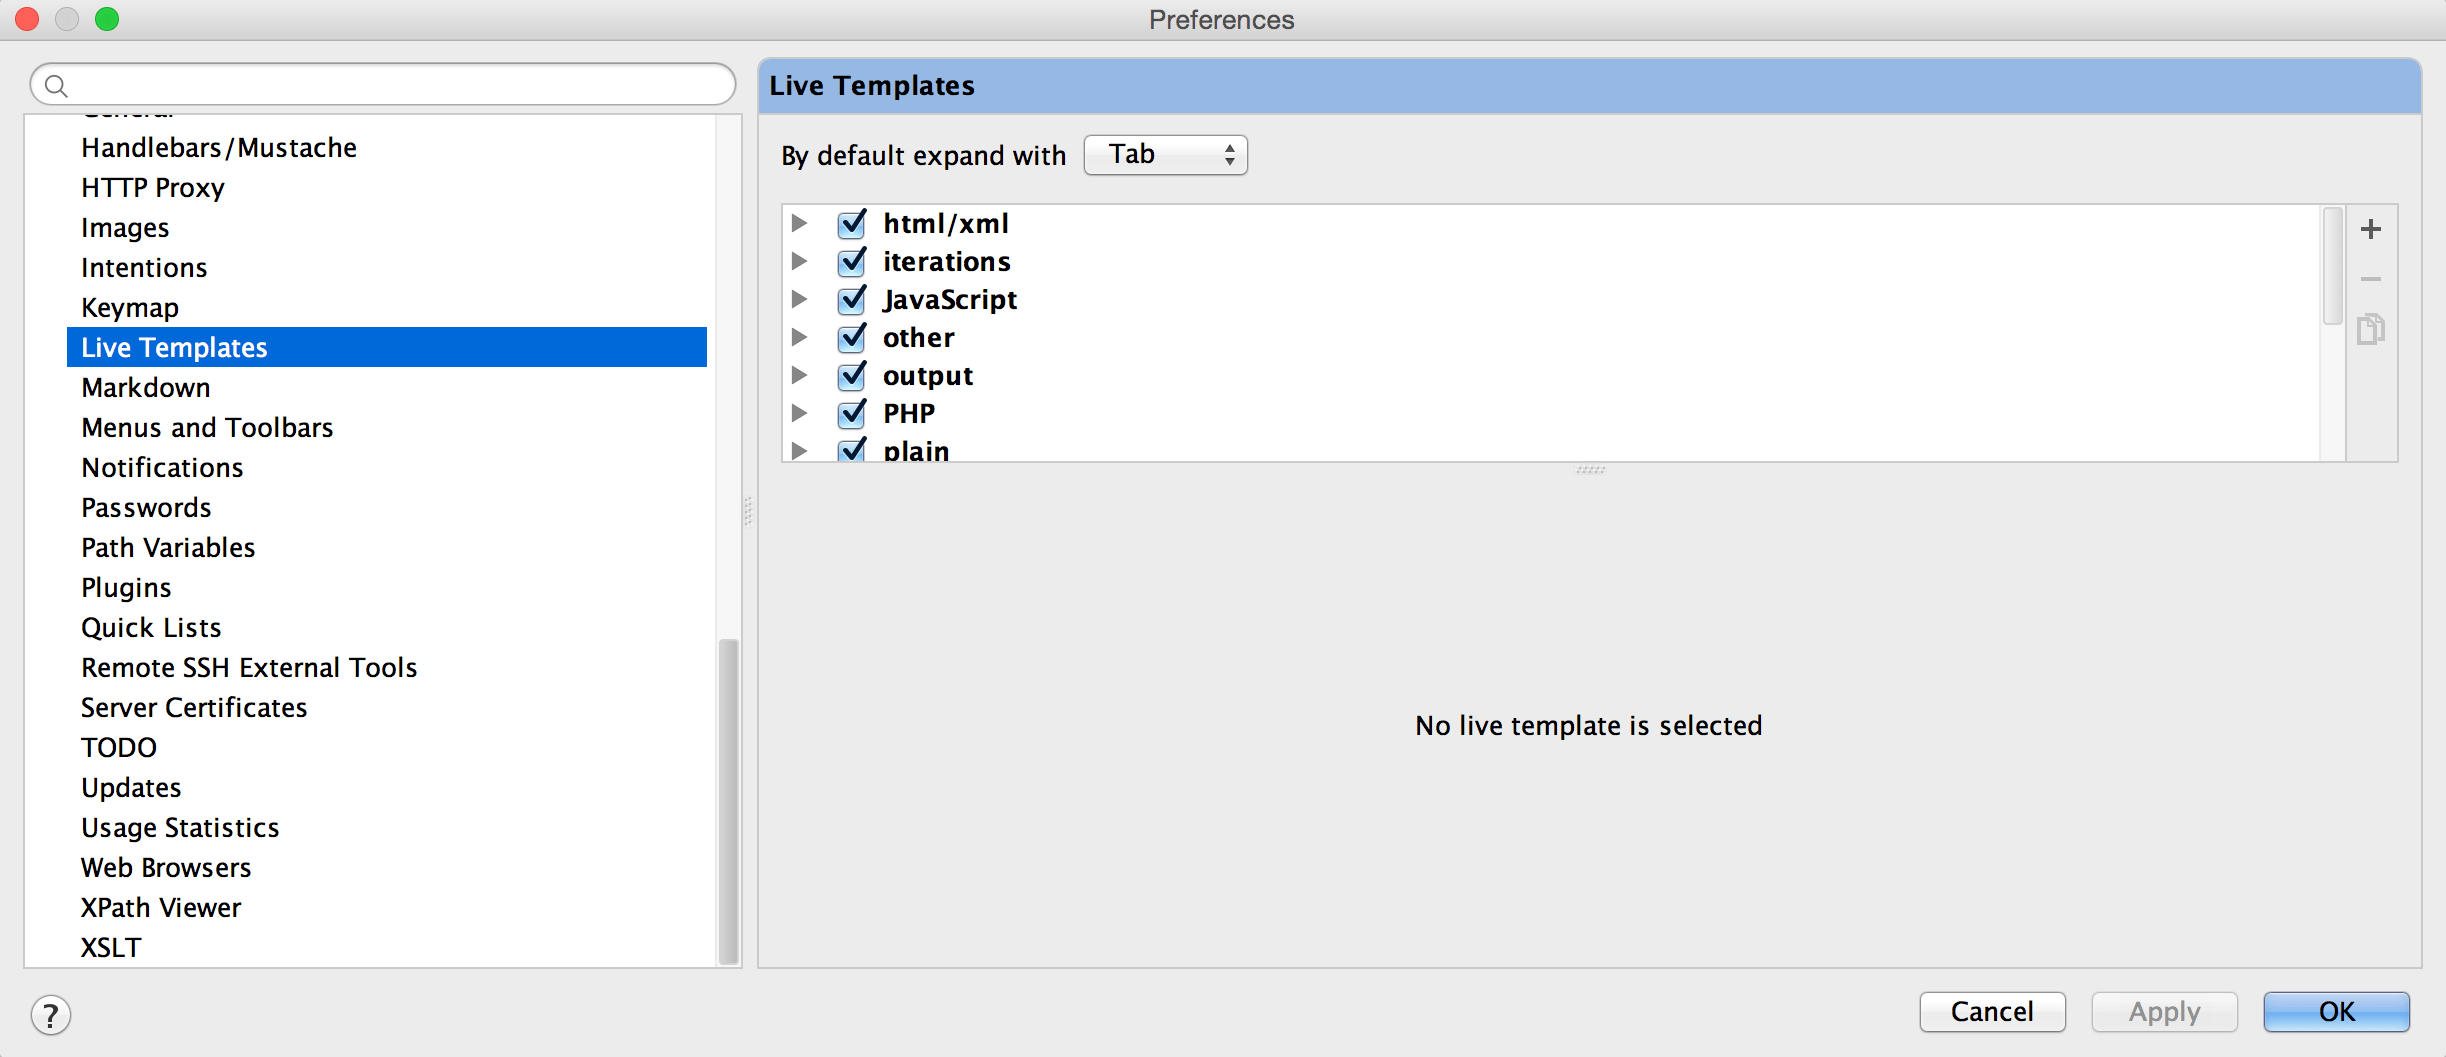
First we need to open the Settings screen of IntelliJ by hitting CMD-, or clicking preferences in the toolbar menu.
Next scroll down to and select the Live Templates item in the settings list.
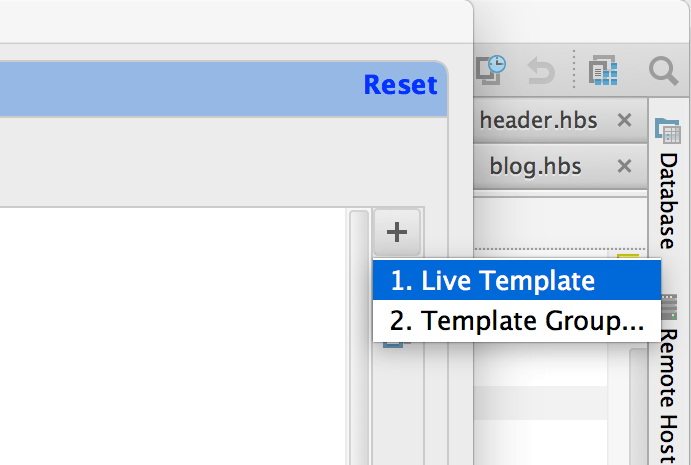
Now click the + button (in the top right of the dialog) and then the Live Template option from the dropdown.
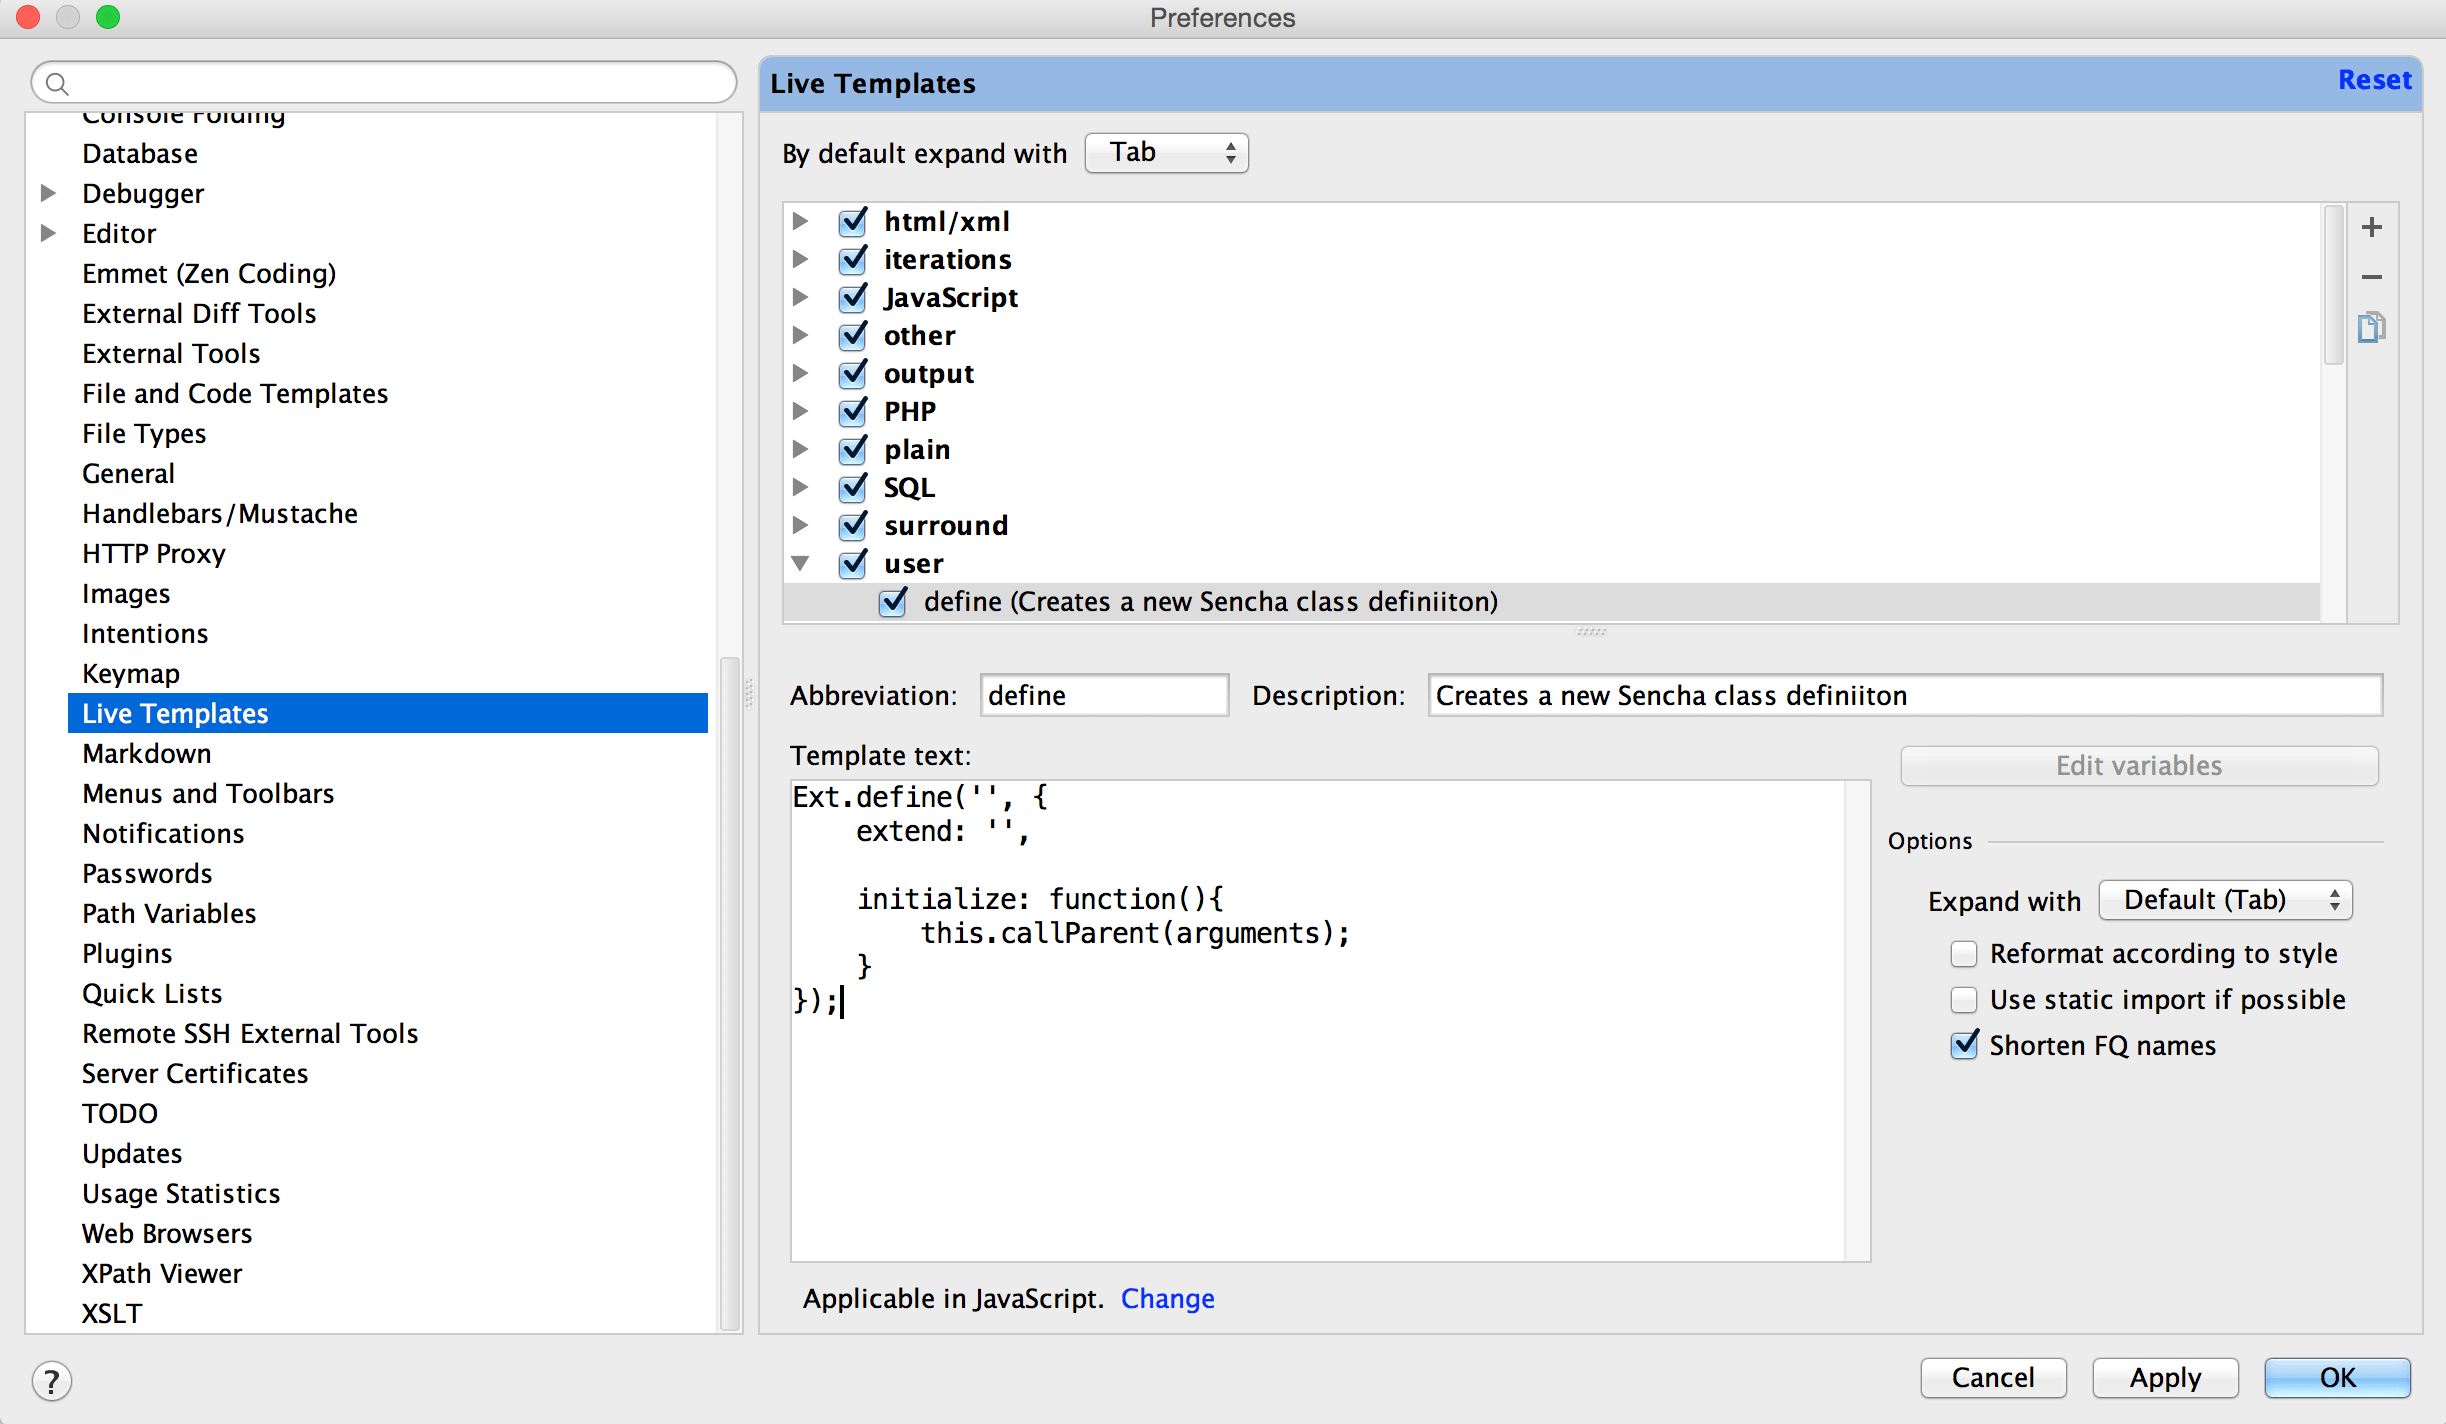
We should now see a blank template form at the bottom of the window. The fields are explained below:
Abbreviation This is the text that you will write which will then be expanded into the full code snippet. For our example let’s set this to “define”.
Description This is a short description of the template so you can identify them easier later on.
Template text This will hold the snippet that the Abbreviation expands into. For our example we will insert the following:
Finally, we need to define a context where the template is usable. This could be everywhere, but we will set it to just in JavaScript files. Click the Define link below the Template Text area and tick the JavaScript item.
Your definition should look something like the screenshot below:
You can now hit OK and try it out!
Open a JavaScript file and type define then hit TAB. Your template should automatically replace the word define. Magic!

Taking it Further
Already this is a big time saver, I write that code a lot of times each day so that’s a big win. However I still need to go back and click into the code to fill in the class name and the class it extends.
We can speed that up to by using Variables.
Open up the Live Templates settings screen again and select our define template from the list.
We will define a variable where the name of our class should go - click inside the quotes and type $NAME$. This syntax defines a variable which IntelliJ will let us replace when the template is used.
The value we use between the $ symbols doesn’t matter and could be anything.
We will repeat this for the extend property and add a variable named $EXTEND$.
Our template should look like this:
Now when we use our template the cursor will be positioned where $NAME$ is and we can type our name, then TAB to the next one and type the name of the class we are extending.

So there you have it, Live Templates can seriously increase your productivity if you take a bit of time out to identify the code you write most (or the code you forget how to write most!) and create a Live Template for it.